How to Design an Interactive Display Unit for Meeting
Learn how to design an interactive display unit with suitable dimensions, integrated storage, cable management and easy maintenance for meeting rooms.
Makaseb
October 6, 2026 at 5:33 pm AST
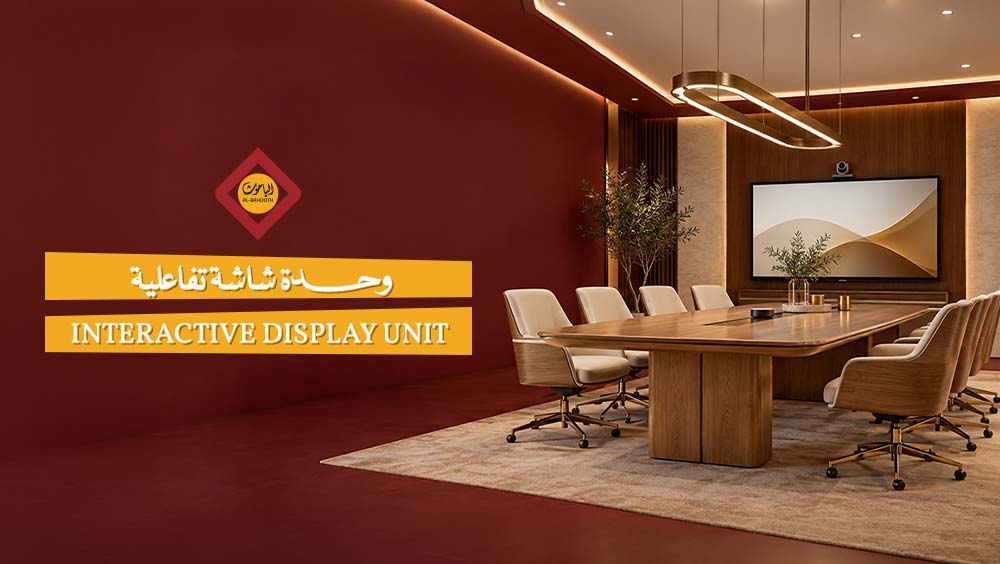
Modern corporate environments require clear, user-friendly display solutions during meetings and training sessions. An interactive display unit designed around space constraints and functional demands satisfies these requirements. When a display is fully integrated into meeting room furniture, presentations and discussions run smoothly, eliminating cluttered wiring and temporary setups that disrupt workflow.
Optimal display sizes and configurations vary based on room dimensions, attendee capacity, and the nature of hosted meetings or training modules. Certain spaces require compact display units integrated directly into conference tables, whereas larger rooms demand comprehensive interior designs uniting displays, office furniture, and audiovisual infrastructure. To determine the ideal setup for your facility, gather your spatial measurements and user capacity data, then consult AL-Bahooth to receive a tailored concept or project quotation.
AL-Bahooth delivers local manufacturing and custom interior design solutions tailored to individual project specifications. The company combines design, manufacturing, and commercial furnishing services, backed by established expertise in the sector since 1976.
Custom Design of Interactive Display Units
An interactive display unit is a specialized furniture and hardware solution that incorporates display mounting structures alongside dedicated enclosures for AV equipment and connectivity. These units can be designed to match conference tables and room geometry. Rather than procuring a standalone screen, this approach delivers a fully integrated setup aligned with how the space is utilized.
1. Components of Integrated Display Solutions Individual unit configurations depend on room specifications and selected hardware:
- Structural Frame: Designed as a freestanding floor unit, a specialized wall mount, or an integrated extension of the conference table.
- Cable Raceways: Organized internal channels routing wires cleanly between displays, power sources, and peripheral devices.
- Pass-Through Grommets: Precision openings allowing neat cable routing across table surfaces and frame structures.
- Equipment Enclosures: Ventilated compartments housing media players, signal distributors, and power distribution units.
2. Custom Furniture Units vs. Standalone Screens An integrated furniture solution links interior design directly with touch display positioning, port accessibility, and spatial layouts. Conversely, purchasing a standalone screen delivers only the display panel, leaving cable management and furniture integration unaddressed. Treating a touch display as part of a custom furniture assembly optimizes environments dedicated to executive meetings, sales presentations, interactive training, and collaborative content sharing.
Determining Display Scale via Room Geometry
Display sizing depends on room length, width, ceiling height, viewing distances, seating capacity, presenter positioning, and content complexity. Defining these spatial factors beforehand dictates appropriate display dimensions and guides the custom manufacturing process.
1. Spatial Dimensions and Seating Capacity Before manufacturing a display unit, measure room dimensions, table placements, seating configurations, and movement pathways:
- Training Rooms: Prioritize sightlines for back-row participants while maintaining ample space for instructor mobility.
- Executive Boardrooms: Emphasize concealed hardware integration and seamless aesthetic alignment with executive furniture.
- Viewing Distances: Calculate distances from both the nearest and furthest seats to ensure text legibility across all audience positions.
2. Matching Display Dimensions with Technical Schematics Specifying display sizes in inches alone is insufficient for custom furniture fabrication; physical dimensions and mounting patterns must align with unit schematics. Standard VESA mounting patterns vary across manufacturers and screen sizes. Technical schematics and mounting data must be acquired from hardware suppliers before starting fabrication on custom enclosures for 55, 65, 75, or 86-inch displays.
3. Sightline Optimization and Lighting Controls Evaluate viewing angles, seating layouts, and ambient light sources to prevent glare on display surfaces:
- Display Elevation: Positioned to minimize reflections and maintain balanced sightlines across all seats.
- Lighting Positioning: Overhead fixtures and natural light from windows must be evaluated to eliminate screen glare during presentations.
- Architectural Layout: Serves as the primary reference for setting distances and angles without relying on arbitrary formulas.
Selecting Unit Placement and Mounting Structures
Choosing the installation location for an interactive display unit depends on room functionality and layout goals. Mounting options include freestanding floor structures, wall-mounted fixtures, table-integrated builds, and mobile carts, each offering specific benefits regarding space efficiency, hardware accessibility, and room versatility.
1. Freestanding Floor Units Freestanding floor units provide internal enclosures for micro-PCs, matrix switchers, and power strips, though they require adequate floor clearance around the perimeter:
- Footprint: Requires dedicated floor space around the unit base.
- Hardware Storage: Features internal racks for organizing project equipment.
- Traffic Flow: Clearance must be maintained to ensure unhindered attendee movement during meetings.
2. Wall Mounting and Table Integration Wall mounting frees up floor space but requires structural wall verification and pre-planned concealed cable runs. Integrating the display into or adjacent to a conference table provides immediate accessibility, provided it does not block electrical outlets or restrict legroom.
- Space Conservation: Wall-mounted units keep floor pathways entirely clear.
- Wall Integrity: Structural wall load ratings and electrical conduit paths must be verified prior to installation.
- Table Integration: Maintains easy access to connectivity ports while preserving user comfort.
3. Mobile Carts for Multi-Use Spaces Mobile carts suit multi-purpose rooms requiring frequent layout adjustments. Before deployment, review storage locations, user movement paths, wheel lock stability, and screen mounting security to ensure seamless adaptability across different meeting scenarios.
When evaluating these options, clarify project priorities: maximizing floor space, achieving seamless hardware concealment, or maintaining layout flexibility across meetings.
Integrating Displays with Video Conferencing Infrastructure
Integrating interactive display units with conferencing platforms depends on intended functionality: direct annotation, digital presentations, multi-laptop content switching, or full video conferencing. Each use case requires precise hardware selection and wiring plans before installation.
1. Touch Interaction, Digital Annotation, and Content Sharing Interactive displays vary in hardware capabilities, with some supporting direct multi-touch writing while others function strictly as presentation monitors:
- Direct Annotation: Enables users to write, mark up, and edit digital documents directly on screen surfaces.
- Digital Presentations: Displays static or animated media without touch feedback.
- Multi-Source Content Sharing: Connecting multiple laptops for alternating presentations requires hardware switchers and user-accessible ports.
- Video Conferencing: Running high-definition video calls demands integrated processing hardware, cameras, and audio arrays.
2. Video Conferencing Hardware Configurations In video conferencing setups, cameras, microphones, and speakers can be built directly into the display bezel or installed as separate peripheral components. This distinction impacts enclosure dimensions and mounting requirements. Verifying hardware specifications prior to fabrication prevents layout adjustments during installation, particularly in hybrid meeting spaces.
3. Port Compatibility and Software Synchronization Verify device ports and software compatibility prior to final assembly:
- Video Inputs: Ensure adequate HDMI or DisplayPort connections for laptops and media sources.
- USB and USB-C Interfaces: Plan the placement and count of USB-C and standard USB ports for easy user access.
- Network Connectivity: Confirm dedicated RJ45 Ethernet ports for wired network connections.
- Transmission Modes: Specify wired vs. wireless sharing protocols within hardware specifications.
- Software Interoperability: Confirm native support for target enterprise applications before deployment.
Cable Management and Port Distribution
Organizing cable pathways and access ports ensures long-term usability and ease of maintenance. Planning internal wire management prior to custom manufacturing prevents clutter and operational friction.
1. Power and Signal Routing Power and data cables must be routed through separate, organized channels to prevent signal interference and visual clutter. Consider the following internal organization mechanisms:
- Internal Raceways: Concealed channels built inside table legs or unit frames protecting cables from wear and exposure.
- Pass-Through Ports: Precision grommets allowing smooth cable transitions between compartments.
- Hardware Racks: Dedicated internal spaces holding excess cable loops and system hardware.
- Under-Table Trays: Under-mount trays keeping power bricks and cables off the floor.
- In-Wall Conduits: Pre-planned wall or floor trenches matching overall spatial architecture.
2. Positioning HDMI, USB-C, and Network Ports Locating power drops and signal ports prior to fabrication is essential; positioning HDMI, USB-C, and network ports should never be deferred until post-installation. Before final sign-off, confirm:
- Port orientation matches intended device cable connections.
- Cable run lengths are measured accurately from input ports to endpoints.
- Primary connection points match daily user positioning.
- Port quantities satisfy full room capacity requirements.
3. Ventilation and Maintenance Access Ensure adequate airflow channels around internal hardware components to prevent overheating. Design removable panels or access doors that allow technicians to service cabling and AV devices without dismantling the main furniture frame.
Frequently Asked Questions
1. Are interactive display units suitable for small meeting rooms? Yes. Suitability depends on room dimensions, viewing distances, seating arrangements, and table positioning relative to the screen. AL-Bahooth manufactures custom designs tailored to exact project constraints.
2. How is the ideal screen size determined for a room? Screen size is calculated using room length and width, seating capacity, viewing distances, and technical display mounting schematics.
3. Can the display be integrated directly into a conference table? Yes. Table integration is evaluated based on room layouts, screen positioning, connection port locations, and user legroom.
4. What information is required to request a design concept and quotation? Provide room dimensions, seating capacity, display specifications, technical mounting schematics, port requirements, and preferred material finishes.
5. Can unit finishes and colors be customized? Yes. AL-Bahooth provides local custom manufacturing, allowing full customization of dimensions, structural layouts, and material finishes.
Conclusion
Deploying an interactive display unit requires assessing room dimensions and daily usage, matching display sizes with technical mounting schematics, selecting optimal unit placement, and integrating cable routing, ventilation, and maintenance access into the overall design.
Contact AL-Bahooth to share room dimensions, display specifications, and project requirements to receive a customized concept or quotation. AL-Bahooth brings established experience since 1976 alongside local manufacturing capabilities to deliver complete commercial furnishing solutions tailored to your enterprise.